Pre requisites
For this tutorial you will need to have the following setup
- Github Account – https://github.com/join
- Gitlab Account – https://gitlab.com/users/sign_up
- git – https://git-scm.com/downloads
- node and npm – https://nodejs.org/en/download/
Check git, node & npm have installed properly with:
git –version
node –version
npm –version
Creating our react app
In a directory of your choice create a react app with the following command:
npx create-react-app gitlab-pages-react-example
(Feel free to change gitlab-pages-react-example to whatever name you desire)
Enter your new react project folder:
cd gitlab-pages-react-example
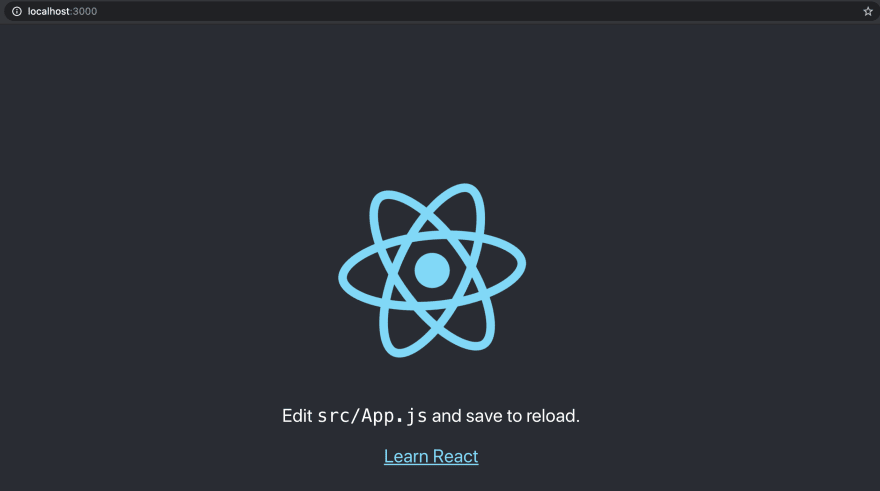
You can use npm start to check your project runs properly and you should see the following at http://localhost:3000
Upload your react app to Github
Create an empty public repository on Github. Then to your local react project and enter these commands to push your code to Github.
git remote add origin https://github.com/jtorbett23/gitlab-pages-react-example.git
(You will need to replace https://github.com/jtorbett23/gitlab-pages-react-example.git with the link to your repository)
git push -u origin master
You should now see your react application on your Github repository:

Linking Gitlab and Github
Login to your Gitlab account and create a new project choosing “Run CI/CD for external repository” selecting the repo we created earlier.
Once created open your project and go to Settings > General > Visibility, project features, permissions. Then check that Gitlab pages is allowed.

Creating our deployment pipeline
For gitlab to create a pipeline to deploy code it requires a .gitlab-ci.yml file at the root level of project.
(Read more gitlab yaml here – https://docs.gitlab.com/ee/ci/yaml/)
Here is the .gitlab-ci.yml we will be starting with:
image: node
pages:
stage: deploy
cache:
paths:
– node_modules/
script:
– npm install
– npm run build
– rm -rf public
– cp build/index.html build/404.html
– mv build public
artifacts:
paths:
– public
only:
– master
Images
image: node defines node as the type of image that docker will use, allowing use to access npm easily.
Note: if you require a specific node version that can be specified by adding :NODE-VERSION e.g image: node:10.16.3
Stages
pages:
stage: deploy
This setups a stage for our pipeline, in which we can execute various scripts. For Gitlab pages we need to name this stage “pages” so it deploys content to the correct place.
Caching
cache:
paths:
– node_modules/
Caches our node_modules so we don’t need to download dependencies every time we run our pipeline.
Scripts
scripts: allows use to run scripts through a terminal
- npm install first installs/updates our dependencies
- npm run build the builds our project into a build folder
- rm -rf public will remove the public folder as we need to use the namespace public to help Gitlab pages recognise our site content
- cp build/index.html build/404.html as react is a single page app we set the 404 page to a copy of our index.html to handle errors through index.html
- mv build public copy the built project from build to public to allow Gitlab pages to recognise it once deployed
Artifacts
artifacts:
paths:
– public
Artifacts are the output of a pipeline stage and we output our public folder holding our built site.
Restricting pipeline stages
only:
– master
only lets us set what code branches of project will run this pipeline stage, it is set to master so we don’t push development code to our site.
Deploying to Gitlab pages
Once your .gitlab-ci.yml has been pushed to your Github repo Gitlab will sync these changes and run a pipeline based off it.
Your root folder should look like:
-public
-src
-.gitignore
-.gitlab-ci.yml
-package-lock.json
-package.json
On Gitlab navigate to CI/CD > Pipelines and you should see a pipeline has been triggered. Once your pipeline is completed it should look like this:

After your pipeline is complete you will be able to view your site by navigating to Settings > Pages and clicking the url under “Access pages”

Your page should look like this:

Note: we are now have the padlock so are using https.
If you instead just get a white page, you will need to edit your package.json and add the “homepage” attribute. For my project my url is https://jtorbett23.gitlab.io/gitlab-pages-react-example/, so I will need to set my homepage as “gitlab-pages-react-example”.
{
“homepage”: “gitlab-pages-react-example”,
“name”: “gitlab-pages-react-example”,
“version”: “0.1.0”,
…
You will need to wait for new pipeline to successfully run before seeing the changes.
Deploying a change from our local machine
Now let’s make a change to locally to see if updates our site automatically.
Change the text in src/App.js from:
<p>
Edit <code>src/App.js</code> and save to reload.
</p>
to whatever you would like e.g:
<p>
Deployment pipeline is working 🙂
</p>
Push these changes and it should trigger your deployment pipeline. After it has finished you should see your changes on Gitlab Pages:

Improving our pipeline
Currently our pipeline only consists of a single step which means when we are developing further down the line it will be hard to know why our pipeline is failing.
So we are going to separate our pipeline into three stages: build, test and deploy.
Build
build:
stage: build
cache:
paths:
– node_modules/
script:
– npm install
– npm run build
artifacts:
paths:
– build
Here we install and cache our dependencies and then build the project outputted as an artifact to be accessible by other stages.
Test
test:
stage: test
cache:
paths:
– node_modules/
policy: pull
script:
– npm run test
Here we use the cached dependencies through the policy: pull to run our test scripts.
For this stage we will also need to update test script in the package.json to make sure it finds all our test scripts.
…
“scripts”: {
“start”: “react-scripts start”,
“build”: “react-scripts build”,
“test”: “react-scripts test –watchAll=false”,
“eject”: “react-scripts eject”
}
…
This is done by adding the option –watchAll=false.
Deployment
pages:
stage: deploy
dependencies:
– build
script:
– rm -rf public
– cp build/index.html build/404.html
– mv build public
artifacts:
paths:
– public
Here we take the built project from the build stage’s artifact and then deploy the code as normal.
Here is the final .gitlab-ci.yml:
image: node
build:
stage: build
cache:
paths:
– node_modules/
script:
– npm install
– npm run build
artifacts:
paths:
– buildtest:
stage: test
cache:
paths:
– node_modules/
policy: pull
script:
– npm run testpages:
stage: deploy
dependencies:
– build
script:
– rm -rf public
– cp build/index.html build/404.html
– mv build public
artifacts:
paths:
– public
only:
– master
Wrap up
You have now learned how to deploy a react application from Github to Gitlab pages using Gitlab CI/CD pipeline.
Here are the links for the completed project for reference:
Github – https://github.com/jtorbett23/gitlab-pages-react-example
Gitlab – https://gitlab.com/jtorbett23/gitlab-pages-react-example
Gitlab Pages url – https://jtorbett23.gitlab.io/gitlab-pages-react-example/

A huge thanks and well done to Joshua Torbett for this post!
Joshua joined La Fosse Academy in 2019.